Author: Matthew

  • My Experiences Filming in Germany

    My Experiences Filming in Germany

    During my time in Germany doing service work for my church, I had the opportunity to run the social media team for a few months and produced several videos. At the time I came into the social media team there was a general lack of skill and knowledge. I was able to use my existing skills, build on them, teach others, and develop some training material for future social media team members to use.

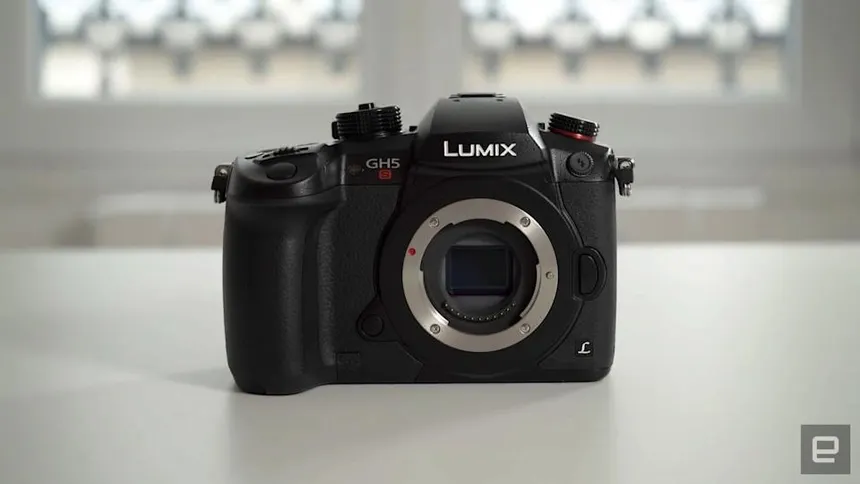
    I already had DSLR photography experience that I was able to apply directly to shooting on the Panasonic Lumix GH5s. Concepts like exposure, ISO, shutter speed, and aperture were already intuitive to me.

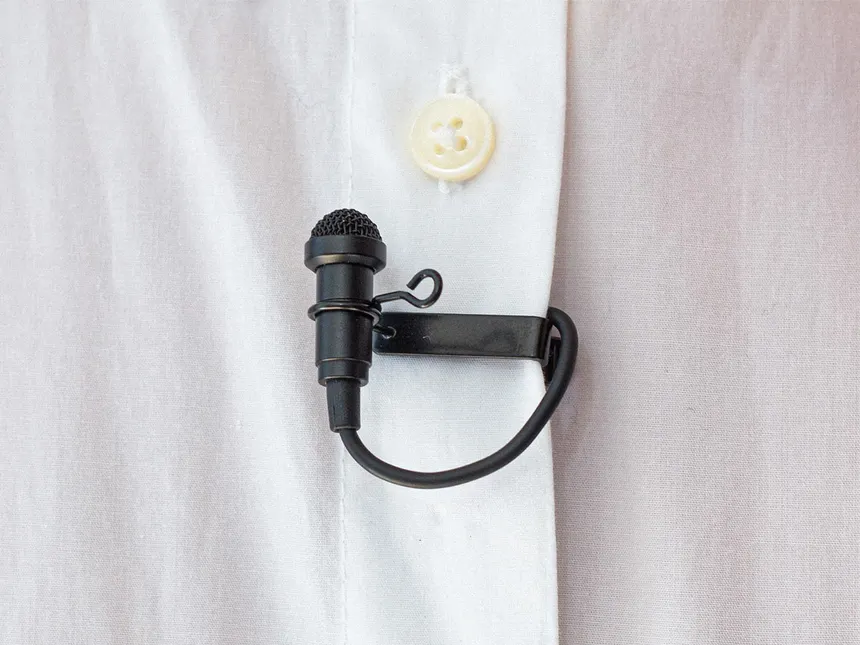
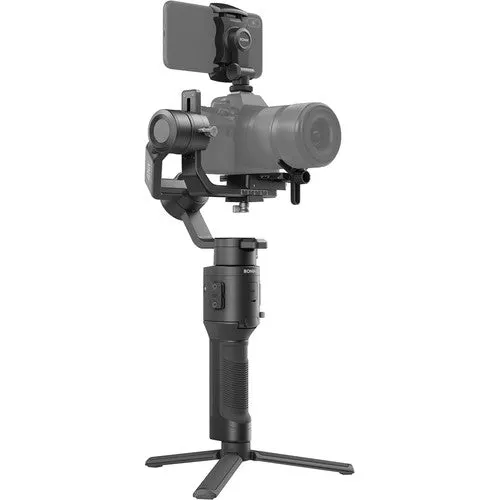
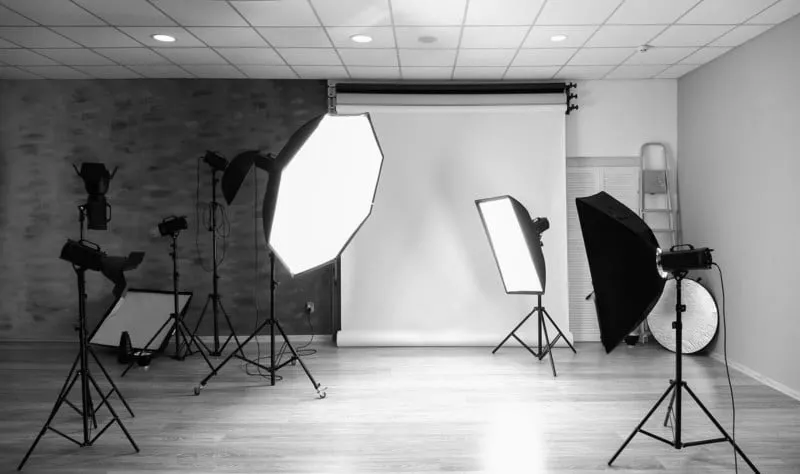
    I learned how to set up professional lighting, operate a gimbal, get quality audio, and shoot cohesive videos.

    I was able to film, edit, and produce the majority of the 3 following videos. These were made in reverse chronological order and you can see my technique improve with each video.

    About 1 week before a large piano concert, I was asked if I could produce a live broadcast so it could be shared with others around the country. This was an incredible challenge and within 1 week I was able to:
    – Learn the ins and outs of the sound and video system installed in that church building
    – Set up several different live cameras to get several video angles
    – Use video input switching to change video perspectives
    – Broadcast successfully and navigate a difficult live shoot

    In the end, many things went wrong, most of which could have been prevented with better planning:
    – The audio was not in sync with the video
    – When using the building controls to mute the hanging microphone audio input, it disabled all but one microphone which fed poor, time offset audio in with the other audio on certain camera angles
    – The laptop hardware or drivers failed and headphone audio out stopped working after unplugging and replugging the headphones in. This meant we could not hear the live audio except by connecting to the live stream and listening on our phones.
    – The microphone sensitivity was too high and audio clipped

    These problems were pretty huge. Audio is obviously massively important for a piano concert, and I should have spent more time troubleshooting and testing the audio before the live event. My setup started simple, I proved concepts step by step, and added more cameras as I was able. Only once I had a full multi-camera setup did I really start testing audio. I should have tested audio incrementally, slowly building complexity and proving out the system just like I did with the cameras.

    If you care to check it out, this event was in both english and german. Enjoy the camera angles, and experience the audio haha.

  • Protected: Freefly Systems Mechanical Test

    Protected: Freefly Systems Mechanical Test

    This content is password protected. To view it please enter your password below:

  • ASME IAM3D Racing Drone – 2nd Place

    ASME IAM3D Racing Drone – 2nd Place

    My team and I competed, and won 2nd place in the 2020 American Society of Engineering IAM3D racing drone competition. It was a huge learning experience with many hurdles to overcome, all within a busy semester of school! This is information about the competition, how we approached it, and ultimately scored very well.

    Rules:

    • Drone should be entirely 3D printed
      • Excluding electronics and hardware
    • Drone must fly a racing course as fast as possible
    • Drone must pickup, fly with, then drop off 1x1x1 inch cubes with a ferromagnetic washer on top

    Scoring

    • Percentage of 3D printed parts
    • Time to complete racing course
      • including transporting the cubes around the course
    • Technical write up and design

    When the university section of ASME announced the racing drone competition, I was immediately hooked. I had been building and flying race drones on my own for a couple years already, and the prospect of pitting my skills against other’s in an engineering competition excited me. As a group was formed, I was set as team lead despite being just a sophomore, my experience with drones, and leadership was wanted. As I recall, the project had a few main focus categories.

    Frame design and construction

    This includes the 3D models, and printed parts that constitute the body, arms, wheel system and includes mounting holes for the motors, battery, electronics, electromagnet, and wheels.

    Ground control system

    This includes the physical ground maneuvering system that allows the operator to drive the drone towards a cube and pick it up

    Payload pick up/drop off

    This includes the physical mechanism, and/or electrical design that would allow for quick and reliable payload transport.

    Electronics

    This includes all the electronics required for the flight system, along with the systems integration with the ground control, and payload systems.

    Frame design and construction

    Inspiration for the frame design and construction came from existing 3d printed designs, and carbon fiber frames. Carbon fiber frames typically have convenient replaceable arms,

    The first frame was a unibody design with integrated mounting for the motors, and electronics. The diagonal motor spacing was the largest possible while still fitting on a 220×220 mm build plate. Although it withstood the most crashes, and was quite durable, it was a pain to work on, and required the whole frame to be replaced if anything broke. This was time consuming, and the limited space made a drive system impossible to integrate
    An early frame design, notice how the bottom plate strongly mimics carbon fiber frames. This was a very weak frame design, and was never actually used. The arms are very similar to the final version, just a little shorter, and with holes intended to reduce weight. The holes did not reduce weight, since they ended up being printed with more wall material than the infill would have been, they were also weaker.